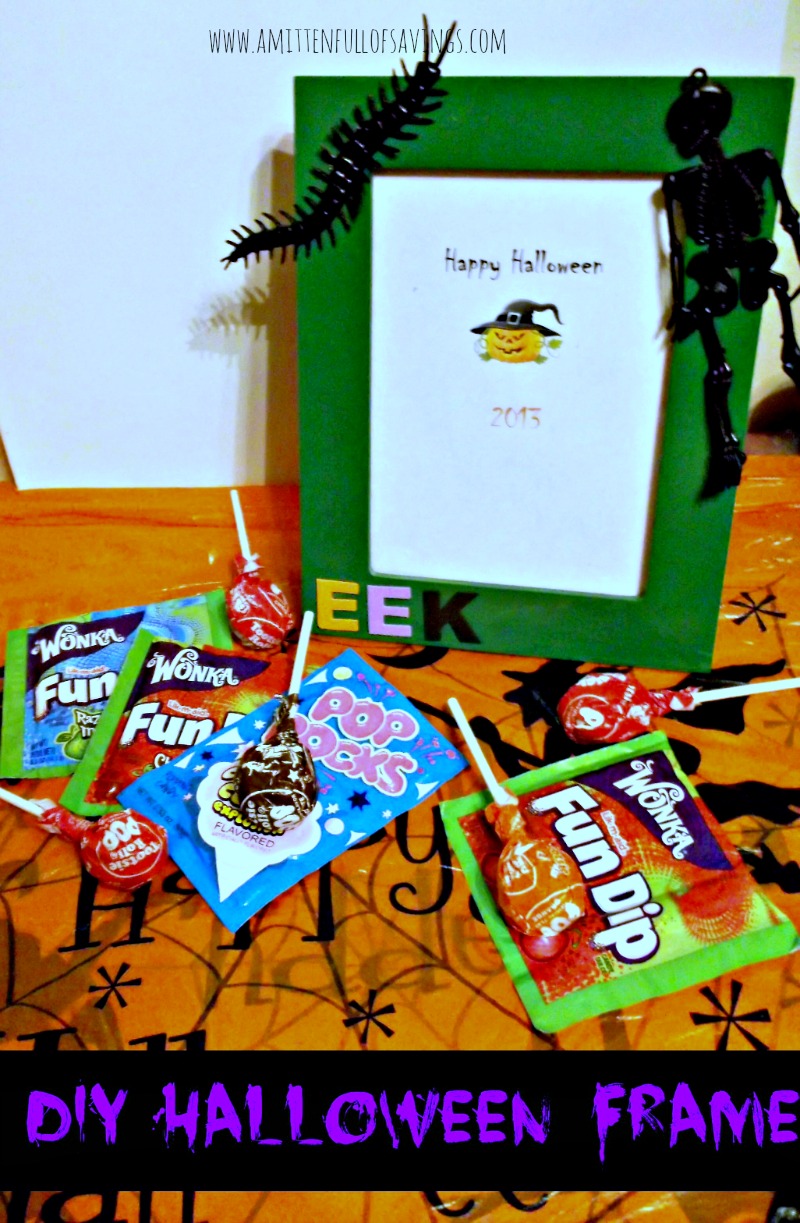
DIY Halloween Frame
Money Spent: $3
Time Spent: about half-hour total
Supplies needed: Picture frame (Bought mine at the dollar store for $1 but you could also repurpose an old frame that you don’t want if you would prefer!), Foam letters (Bought at the Dollar Store for $1) Plastic creatures (Bought at the Dollar Store for $1) Green Paint (I already had on hand)
Procedure:
-First, you’re going to want to remove the backing and the glass of your frame, leaving just the frame itself.
-Paint it green or any other Halloween color you would like
-Once your paint is dry. Start adding Halloween accents such as Halloween related words (EEK, BOO, AHHHH, etc.)
-Also, add things like skeletons and spiders or creepy crawlers!
-Finally, create a Halloween print out on your computer, print it out, and cut to the size of your frame and place in the frame.
* Another idea you could do which I think would be awesome but I don’t have any kids so I didn’t have anyone to do this with! But you could frame your child’s handprint or footprint and add the occasion (Halloween) and the year! This makes for an awesome memory and I definitely think I would LOVE to do this when I do have kids in the future! It would be especially awesome for a baby’s first Halloween. Or you could, of course, put an actual picture in there!
There you have it! You’re all done; you could display this on a table with other Halloween decorations! This is a very easy, quick, and inexpensive decoration that makes for a great memory and craft to enjoy with your children! Hope you guys enjoy!


No Comment